Friday, April 22, 2011

Friday's Fresh Find: Our Secret Treehouse

Continuing the theme of finding new and awesome shops that will be coming to MayDay, today's Fresh Find is a fun, fun shop: Our Secret Treehouse. I can't wait to meet them at MayDay - I just bet this dynamic duo is a barrel of laughs.

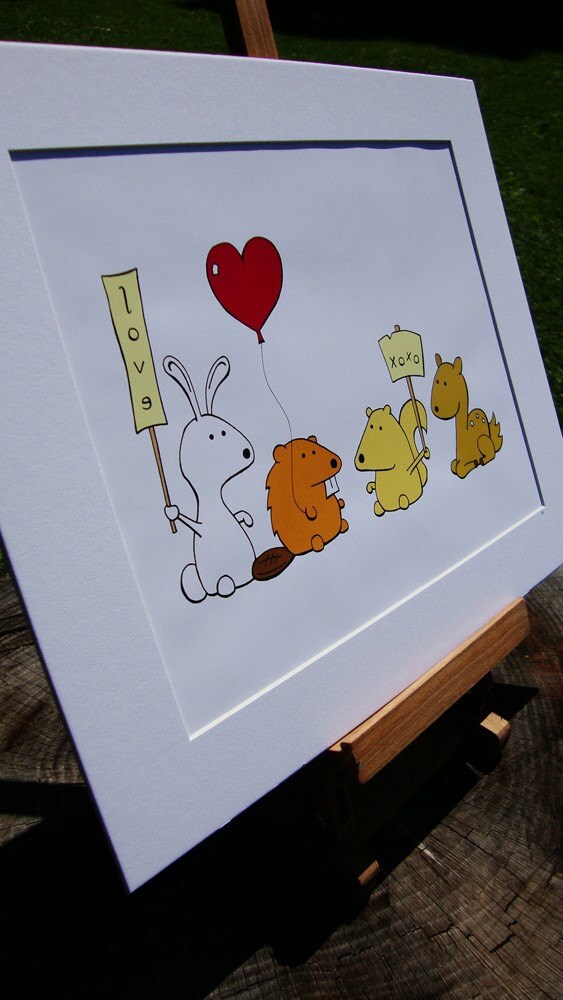
Woodland Critters XOXO Print
Woodland Critters Squirrely Print
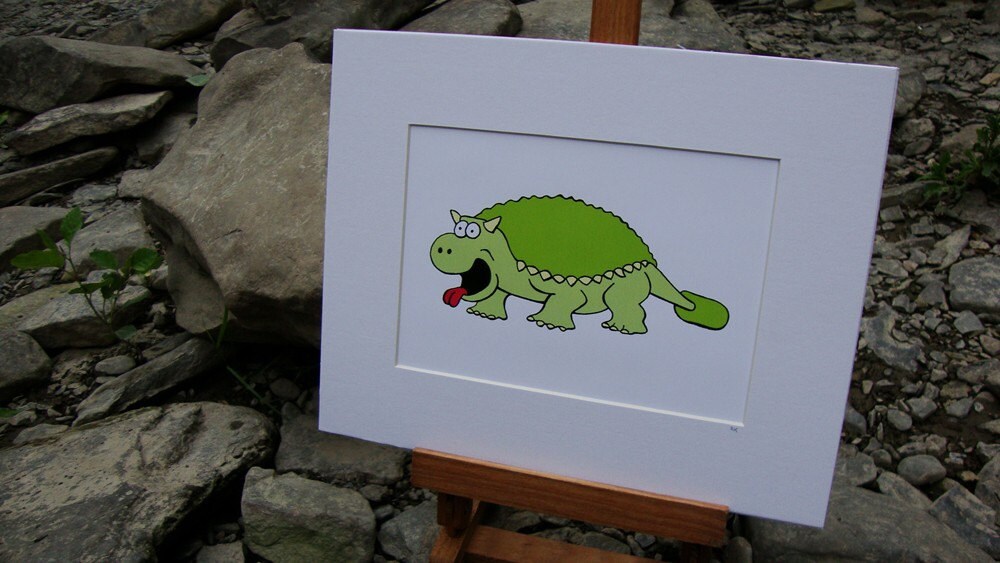
Saurs & More Ankylosaurus Print

Thursday, April 21, 2011

Thursday's Thoughts: Fearsome Focus

Silver FOCUS Ring
by Nora McNamara
I have mixed feelings about whether reading books on time management are a good use of my time, but I have a slight addiction to them. To save you time, however, I thought I'd bring you a little snippet of good guidance from The Power of an Hour, by Dave Lakhani. Lakhani suggests that you can create time by being "fearsomely focused." To acheive this intense focus, carve out some time away from family, friends, phones, etc. and:

  1. Decide what to focus on. Be as detailed as possible.
  2. 
  3. Create a roadmap for action listing what steps you need to take.
  4. List the tools that you will need. Have them ready and available.
  5. Stay focused. Do not let anything distract you. This goes for e-mail, co-workers, and your own thoughts.
  6. Get started. Taking decisive action to begin your project creates momentum.
  7. Constantly check your progress against your list of steps. This positive feedback will build up the momentum you have started.
  8. When distractions arise, take only a moment to acknowledge them, then get rid of them and go immediately back to work on your chosen project.
  9. Keep working until you have completed all your steps. Being methodical pays off.
  10. Congratulate yourself for completing the task and allow yourself to relax.

Lakhani suggests that we practice by attaining this focused state regularly, create a routine, and dedicate a specific, regular time and place to work with intense focus. I'm going to try this tonight. I have about four hours and twenty Gettin' Down to Business Card Wallets to finish up. We'll see how much I accomplish when I'm fearsomely focused!

What do you do to help you focus?

Wednesday, April 20, 2011

Wednesday on the Worktable: A LOT More of the Same

This is crunch week: the last full week before my back-to-back shows. This weekend I will make some iPod/iTouch pouches, about a million bookmarks, and some more jotters, but this week I dedicated to finishing up all the Quilted Tissue Pillows, qClutches, and Gettin' Down to Business Card Wallets that were cut and prepped and ready to be sewn. One of the things I really love about making massive amounts of items in preparation for a show is having stacks of completed items, all uniform in size, just showcasing lots of fun fabrics! One final push, and we'll be show ready, but right now the studio is looks a bit like a war zone!

Un-stuffed Quilted Tissue Pillows look so nice in a stack!

So many fun Gettin' Down to Business Card Wallets to choose from!

This qClutch should be named "Green with Envy." This is definitely a fave!

I couldn't resist making a qClutch in one of my new favorite fabrics.
Michael Miller's Sea Beauties add so much fun to a wallet!
I just love this one. The fabrics are individual favorites of mine
and I think they work so amazingly together!


I added a little extra flair with some satin ribbon around the zipper.
Just another pop of wow!

Monday, April 18, 2011

Monday's Marvel: The qClutch: Refreshed

You may remember a while back that I introduced the clutch-style wallet that I'd just finished designing and was about to launch in the shop. Well, I didn't launch the new design back then, but, after a few improvements, I'm ready to launch it now! Oh how I love these wallets and really love the improvements, too! These are fun to make, but they do take quite some time due to the measuring, folding, and pressing of the interior card pockets. It's worth it though! These wallets just have it all!


Friday, April 15, 2011

Friday's Fresh Find: Erika Martin Designs

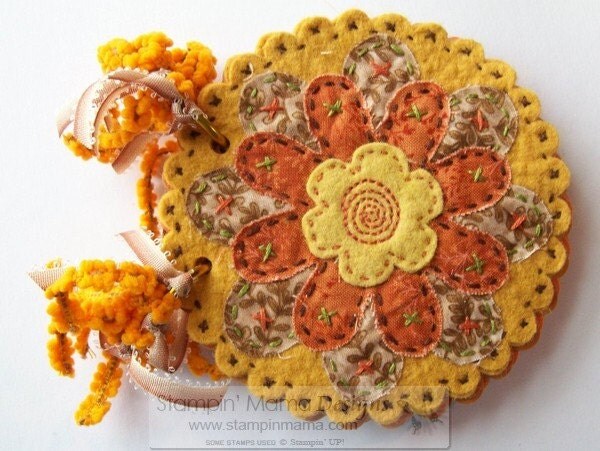
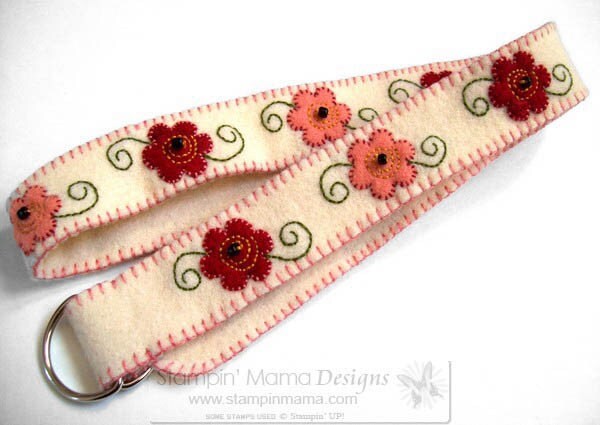
I saw this amazing work in a beautiful treasury and immediately visited this shop: Erika Martin Designs. So many eye-catchingly beautiful and unique hand-stitched pieces, this shop is definitely a fresh find. I look at her work and it makes me happy! You and I will get the opportunity to meet the artist at MayDay, but in the meantime, I hope you pay a visit to Erika Martin Designs and check out this wonderful shop!
Hand-stitched Felt Covered Album
Red and Coral Blooms handstitched Girl's Felt Belt
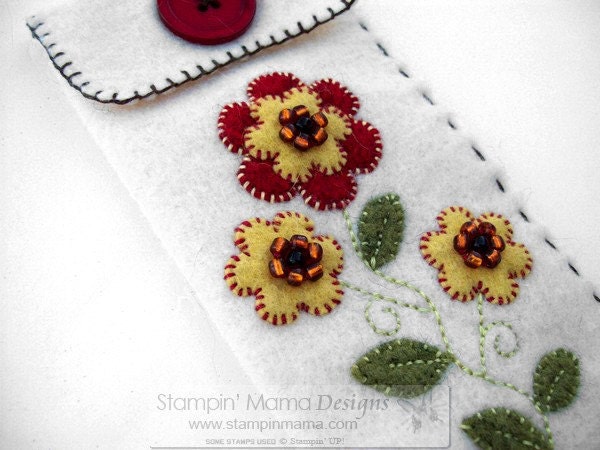
Felt Embroidered Eyeglass Case - Bright Blooms
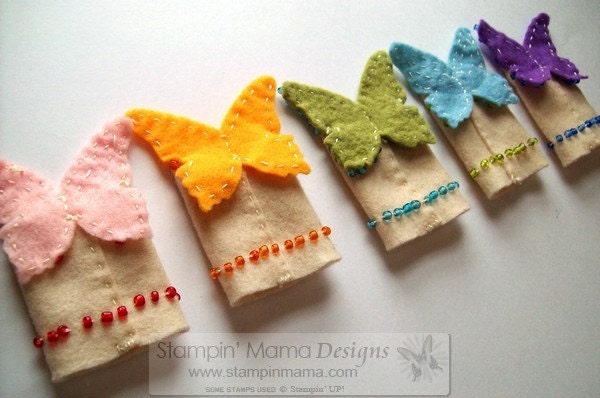
Fairy Finger Puppets with Roll-up Bed

Thursday, April 14, 2011

Thursday's Thoughts: Take a Stand

Dress Form - Original Papercut Art
by Papercut Art by Tina Tarnoff
Talk around my work team is on a recent article professing that folks who sit for eight hours daily at work are 54% more likely to die of a heart attack than those who stand at work. WOW! I sit for 40 hours a week at my day job and then I sit for about 50 hours a week in the studio.

Regardless of whether sitting actually leads to an increased risk for a fatal heart attack, I know that sitting so much is really hard on my back. So I, and several of my coworkers, decided to make a change. We're working on converting our workspaces into standing stations - I'll have mine done next week and will post some pictures.

Since I actually spend more of my time in the studio than I do at work, I decided to make a change there too. After my April shows, I will be raising my cutting table to waist height. They say that standing  while cutting improves accuracy anyhow, so that's a good thing. The only issue is that I am very tall - waist height for me is 48" so I think I will put my tables up on cinder blocks to get the height I need. The other areas of my studio will be uplifted as well: shipping station will go up on blocks, photography station gets some height, and the ironing board is already raised for stand-up ironing. The only thing I will still sit for is sewing, but I think the up and down from the sewing chair to the rest of the work spaces will be good exercise.

I'll post pictures of the transformation and keep you posted on how its working for me. What do you think? Do any of you work standing up? Thinking about making the change? Here's a great blog post if you're interested in making some changes to make your space work better for your body.

Wednesday, April 13, 2011

Wednesday on the Worktable: Quilted Tissue Pillows

I mentioned on Monday that half the cut fabric on my table was for a new design that I would show you today: Quilted Tissue Pillows! Oh boy, do I love these! About half of my creations come from personal necessity (while the other half come from requests from friends and customers) and these are something I've always needed to have on hand. As an allergy sufferer, there are never enough tissues around when I'm out and about. Having a cute little Quilted Tissue Pillow in my tote bag will be so handy! I hope you think so, too! When they are stuffed with a pocket pack of tissues they look like little pillows (or burritos, but Quilted Tissue Burritos doesn't sound quite as cute!)


Monday, April 11, 2011

Monday's Marvel: Did I Do Anything This Weekend?

Some Mondays I look back on the weekend and feel like I wasn't very productive at all. This is one of those Mondays. I don't feel like I was productive because I didn't actually MAKE anything this weekend (though I did create and test a new design - more on that on Wednesday). These seemingly unproductive weekends are all part of my process. Especially when I am preparing for a show, I pick one or two designs and spend the weekend choosing all the fabrics and cutting all the pieces for however many of those designs I want to have for that show (or for the shop.) That's what I did this weekend.

So, this weekend I:
  • Coordinated, measured, and cut 36 sets of fabric for Gettin' Down to Business Card Wallets
  • Coordinated, measured, and cut 28 sets of fabric for a surprise new design (number three to be launched at MayDay) which I will show you on Wednesday
  • Measured and cut 64 pieces of batting
  • Made 64 labels
  • Cut 36 1" pieces of velcro
By the end of the weekend I wanted to throw my rotary cutter out the window! But now I have everything cut for these two designs and can just lose myself in the sewing and quilting. My process may start out with all the tedium of cutting, cutting, cutting, but it ends with the glory of the sewing, so I can't complain.

I love nice, neat rows of fabric all cut and ready to sew. Thrilling!

Friday, April 8, 2011

Friday's Fresh Find: Upstate Herb Works

My awesomely creative and wonderful friend Karen alerted me to this wonderful herbalist right here in Upstate New York: Upstate Herb Works. By every stretch of the definition, this shop is definitely a fresh find! I'll get the opportunity to meet the owner, Catherine, at MayDay and I really cannot wait! For now, though, I just enjoy looking around her shop and reading the wonderful descriptions she writes for all of her products - you know immediately that she loves each and everything she creates. Take a look through her lovely, wholesome offerings and you will know what I mean. Upstate Herb Works is definitely a shop you want to visit soon and visit often!

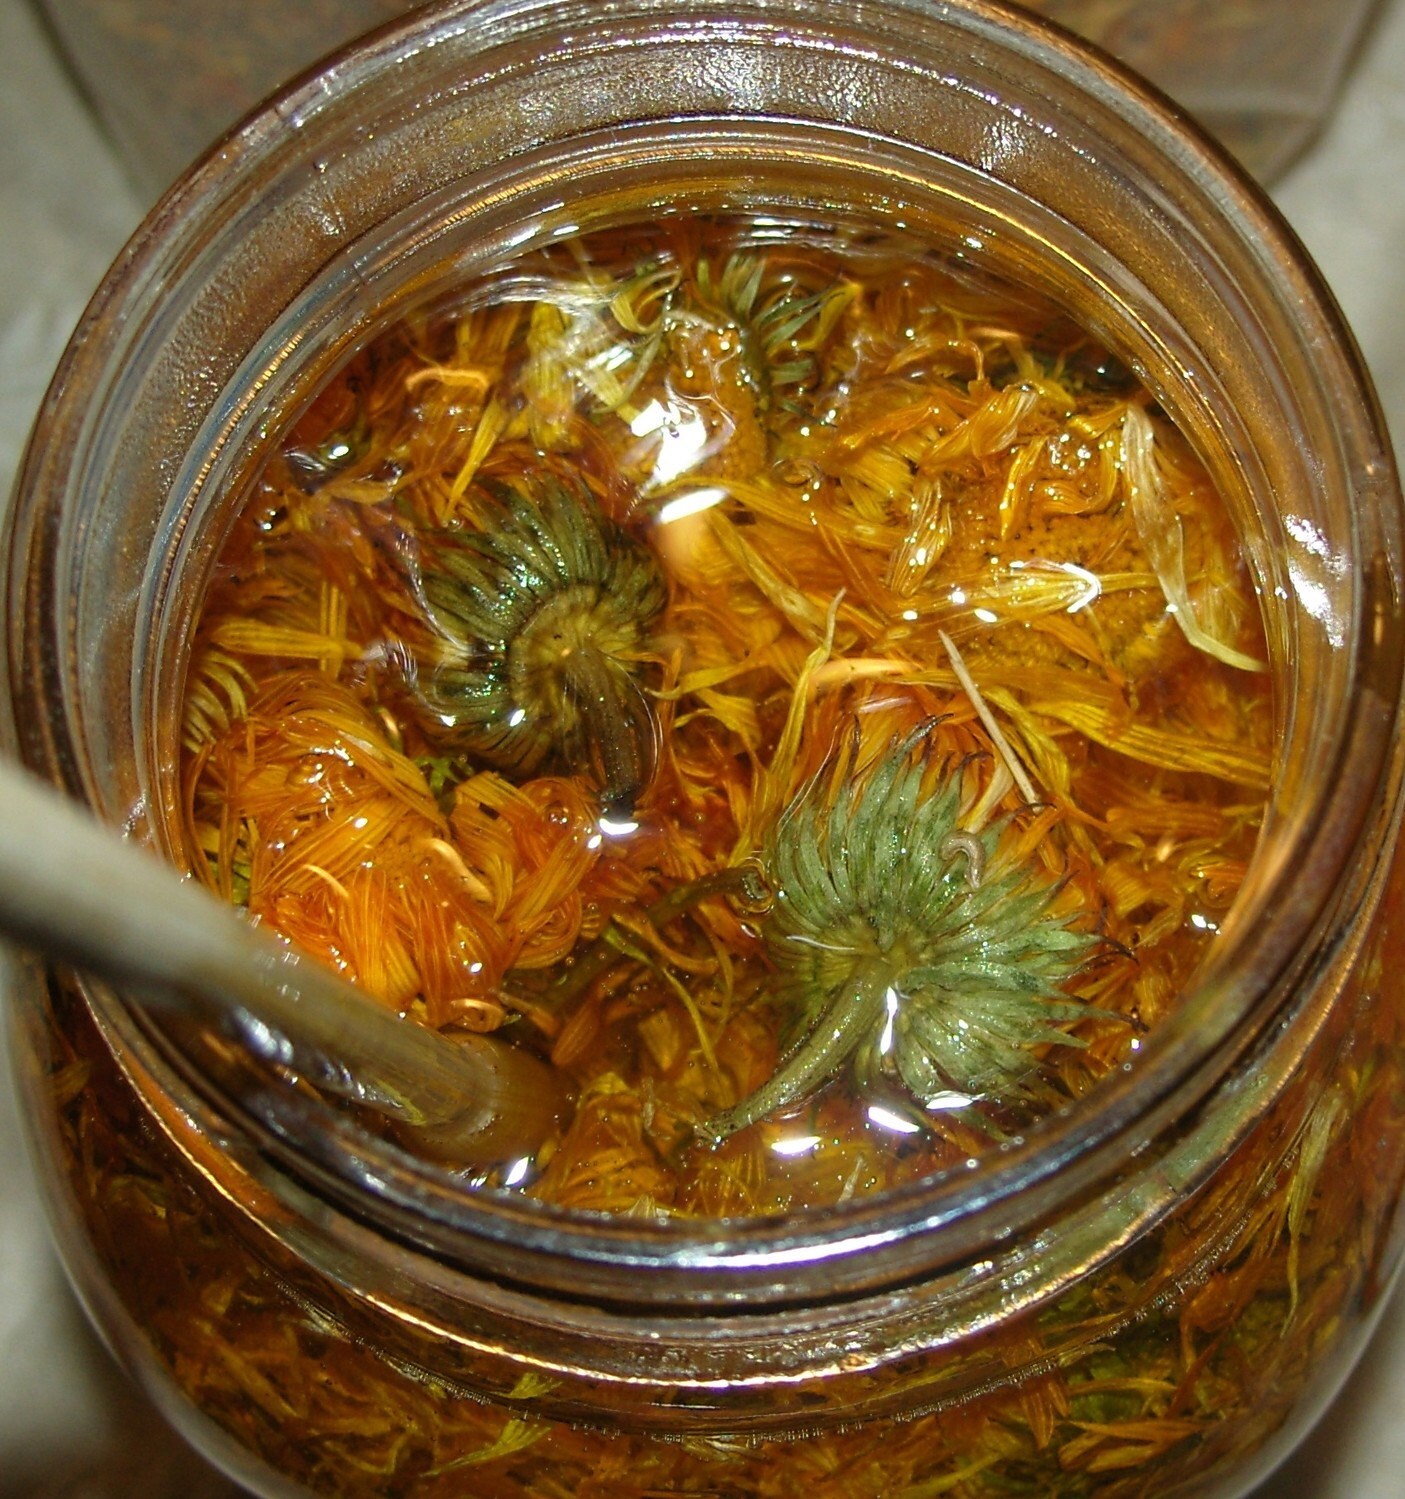
Double Calendula Vegan Body Butter
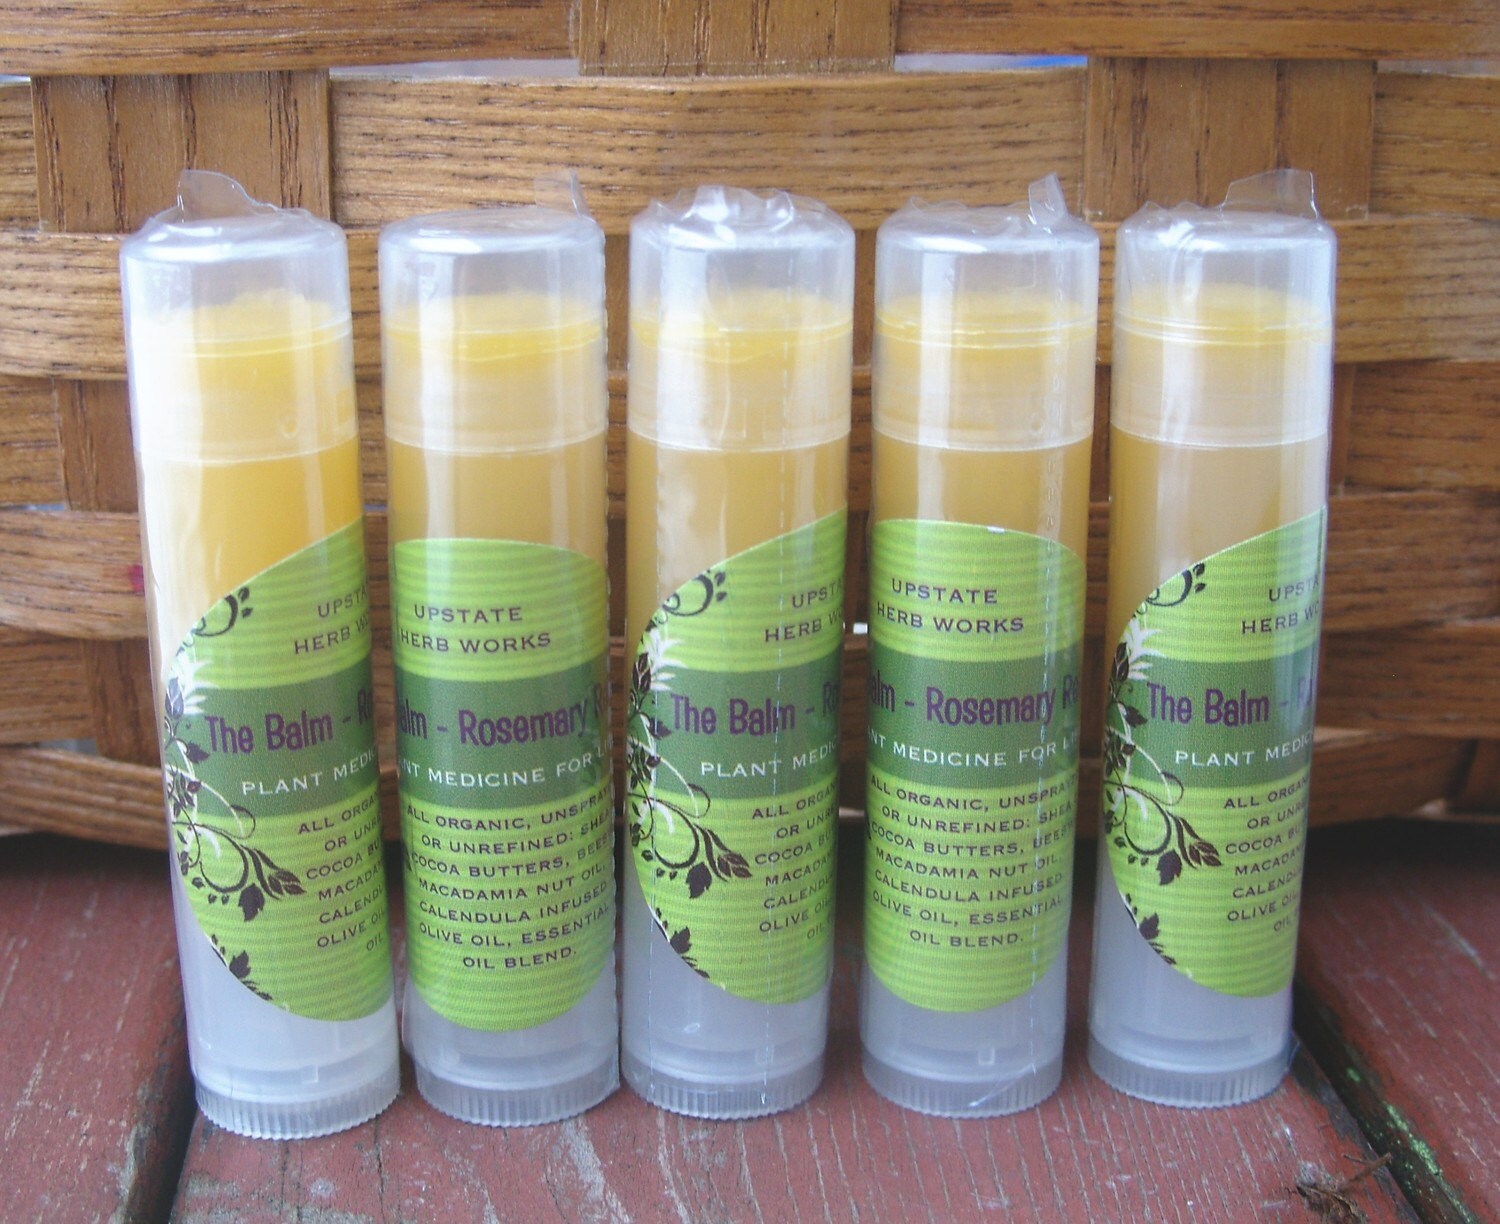
Rosemary Relief Chapstick
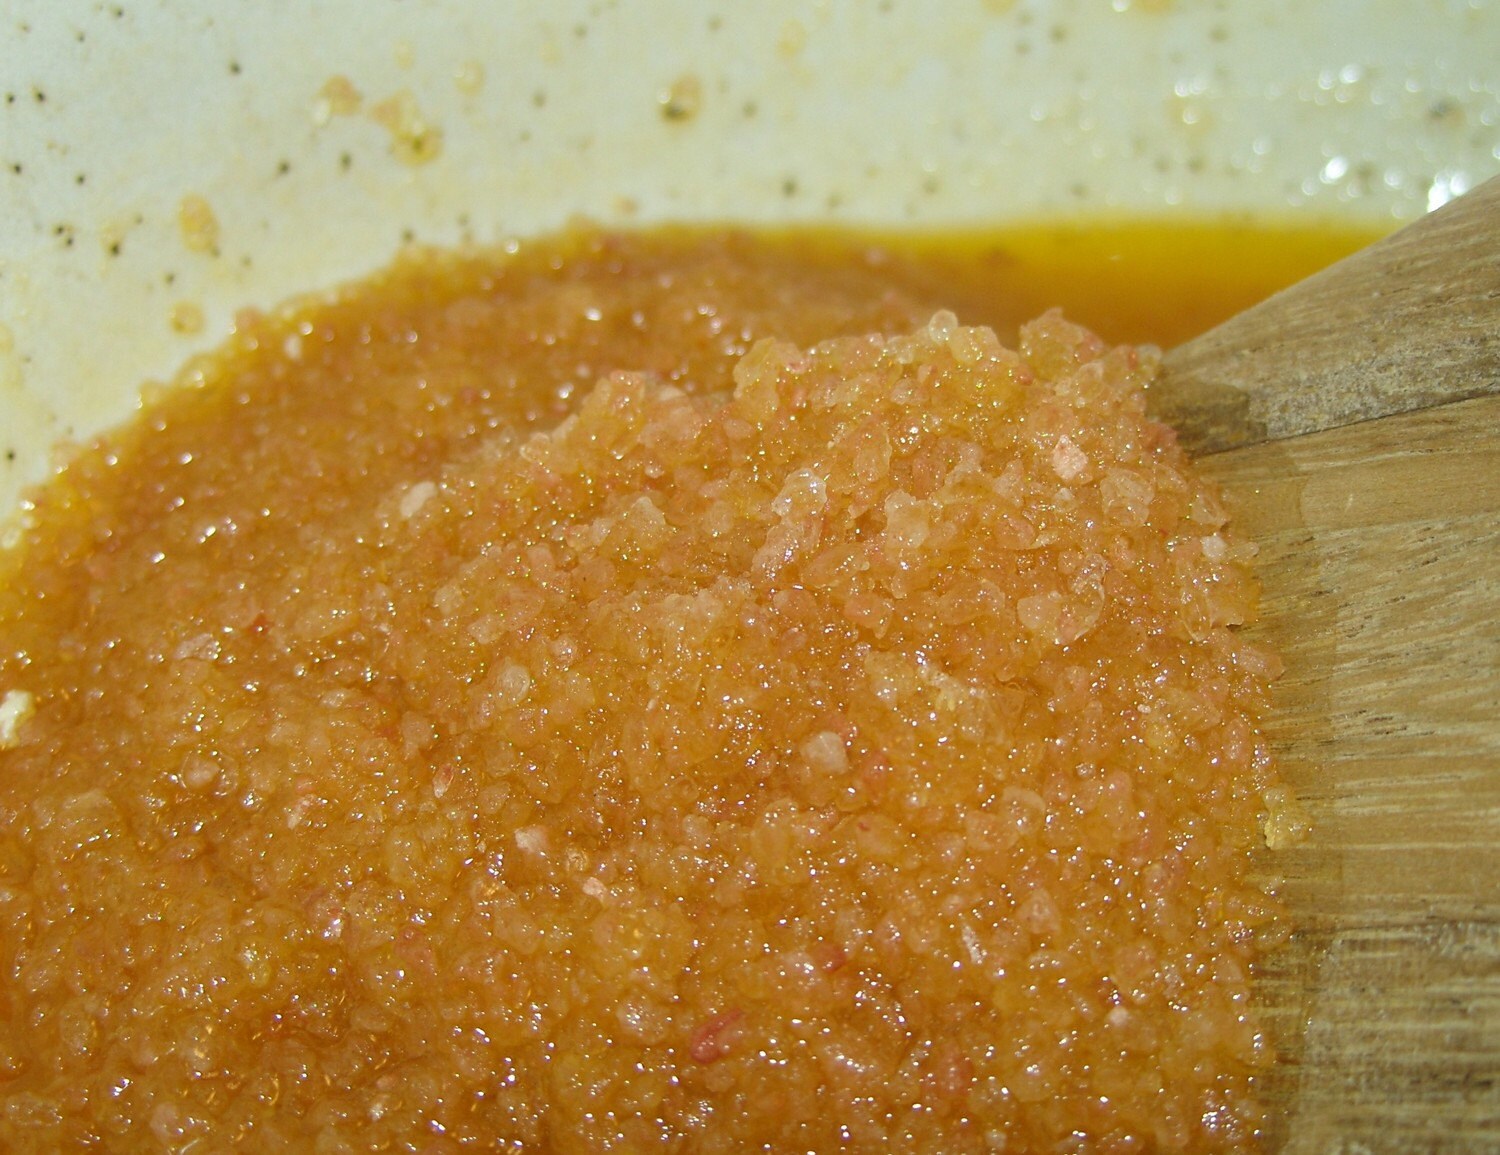
Himalayan Pink Salt Body Polish

Thursday, April 7, 2011

Thursday's Thoughts: Inspiration

Flame - Fine Art Photograph
by Honey Tree
I'm often asked where I get my inspiration for some of my creations, so I thought I would share what inspires me in this Thursday's Thoughts.

1. Images in nature.
The combination of the gold, scarlet, and sunfire leaves against a cyan blue sky will drive me to include those colors in a quilt or small work of art. Natures pallette is amazingly inspiring.

2. Floor and carpets.
The geometric patterns on tile floors and the scrollwork on Oriental carpets really get my creative juices flowing! I love creating piecing patterns based on tilework and doing free-motion quilting inspired by the intricate designs in beautiful carpets.

Whenever I think, "Oh, I wish I had one of those." or "I wish this was reusable." I write myself a note and work on creating whatever it is. I love making functional and beautiful items that make someone's life easier.

4. Friends.
Friends and customers (who quickly become friends) often have suggestions and requests that inspire me to create something new. I love these suggestions because they are often for things I would never have thought of and challenge me to think outside my little box. That challenge is inspiring, too!

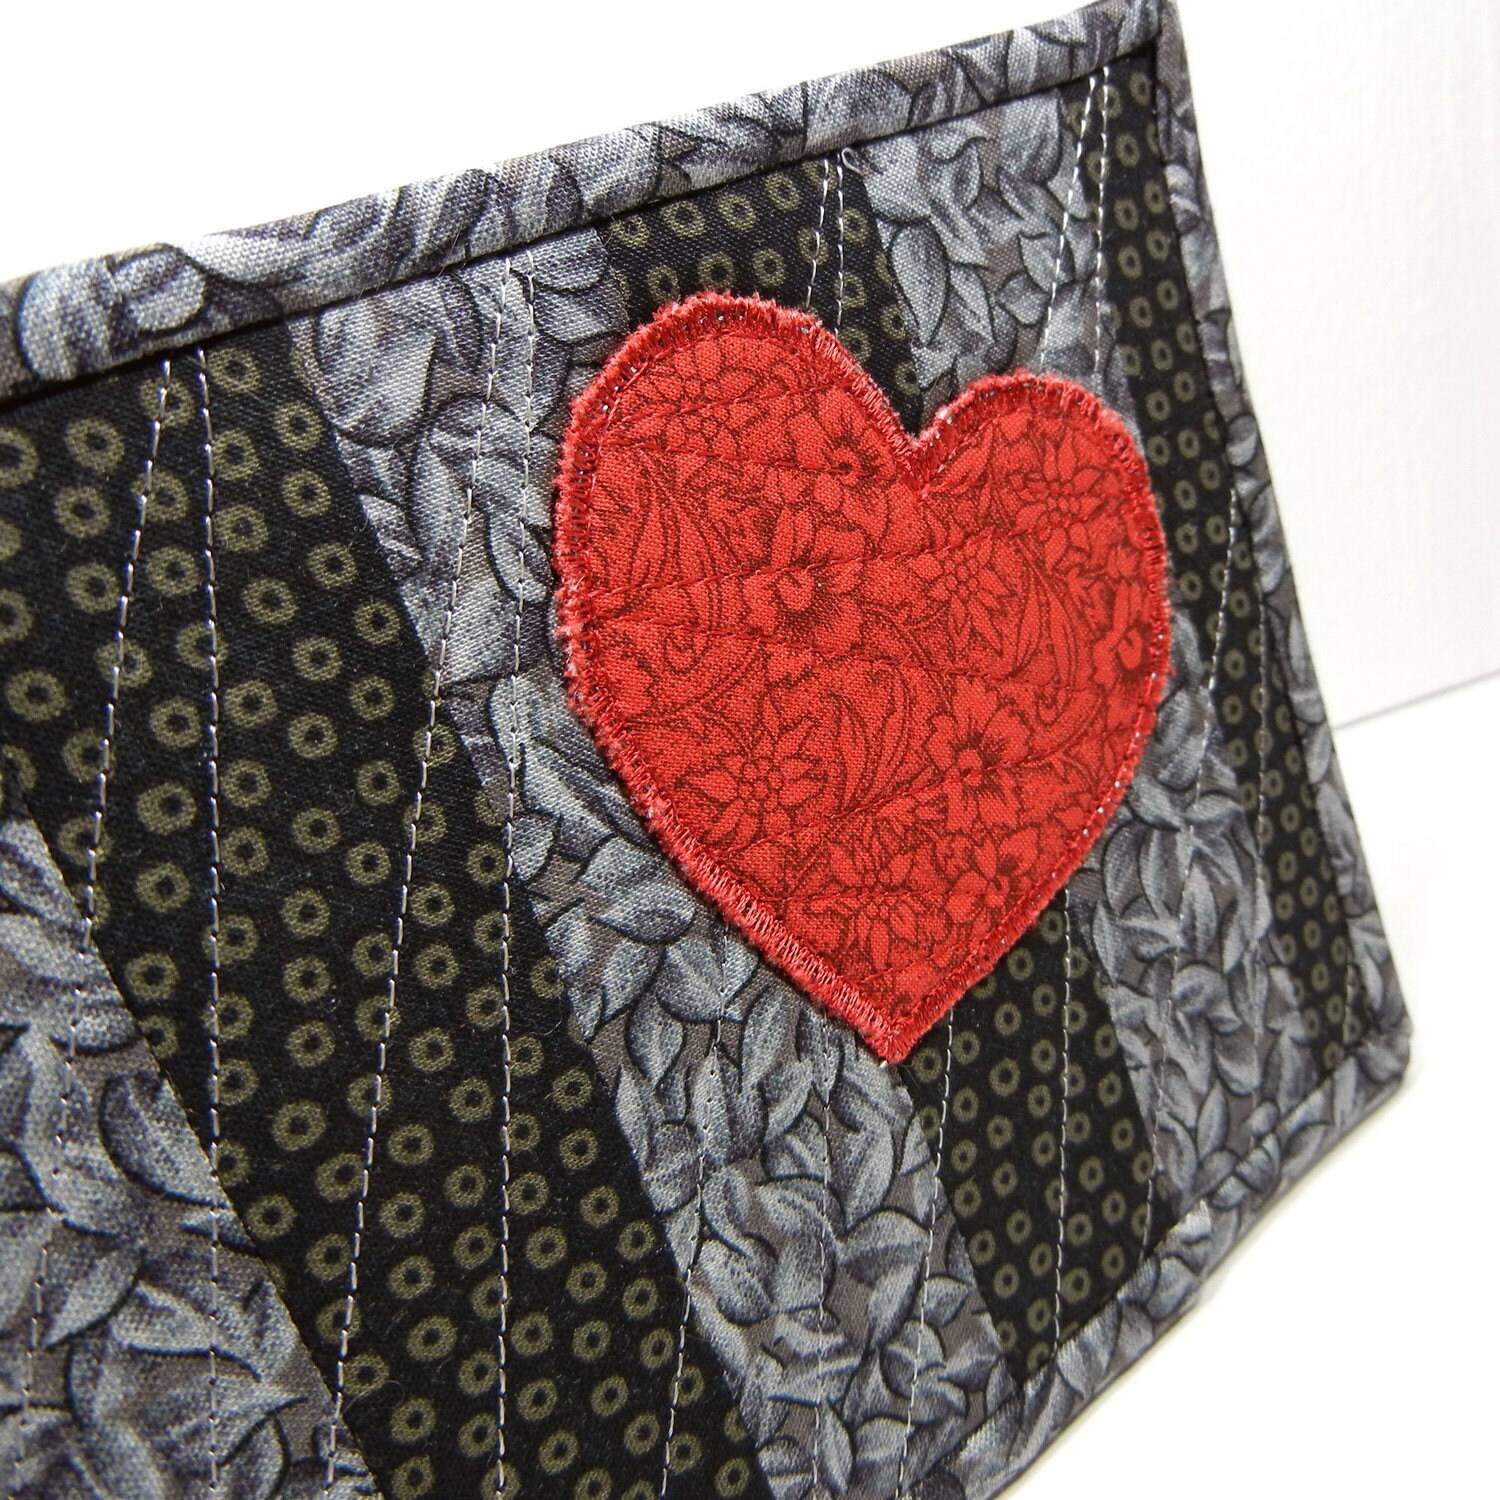
Graphic Arts Valentine
5. Randomness.
Sometimes just a random image or thought will drive an urgent need to create something. This happened just recently. A friend posted a new profile picture on Facebook. It was a black and white image of a boardwalk with a vibrant scarlet heart drilling into the center of the wood. The image was so striking that it inspired my design for this year's Graphic Arts Valentines.

Inspiration strikes from many different directions and not only helps me find new ideas, but gives me the energy and drive to face new challenges and work out difficult patterns. I love seeing something go from fleeting thought to completed design. Inspiration strengthens me for the middle time: the hard work of getting the design to actually work the way it does in my head.

What inspires you?

Wednesday, April 6, 2011

Wednesday on the Worktable: Mug Rugs Galore!

I'm busily creating things for my shows this month and today I focused on a collection of my new Mug Rugs. I truly loved making the two I made for a recent swap and adore using the two I received in the swap, so I thought I'd make some for my shop and shows! I have one on my desk at work and one on the corner of my cutting table and love to use them both: whoever thought of a mug mat is absolutely brilliant!


Tuesday, April 5, 2011

Tuesday's Treasures: Gray Skies

Anyone who knows me knows that gray and I are not friends. I truly do not like the "color" and am of the opinion that gray is the unhappiest color. Since today is very gray here in Rochester (and we have had snow flurries), I decided to compile today's treasures to prove myself wrong. Enjoy these lovely and HAPPY gray offerings:
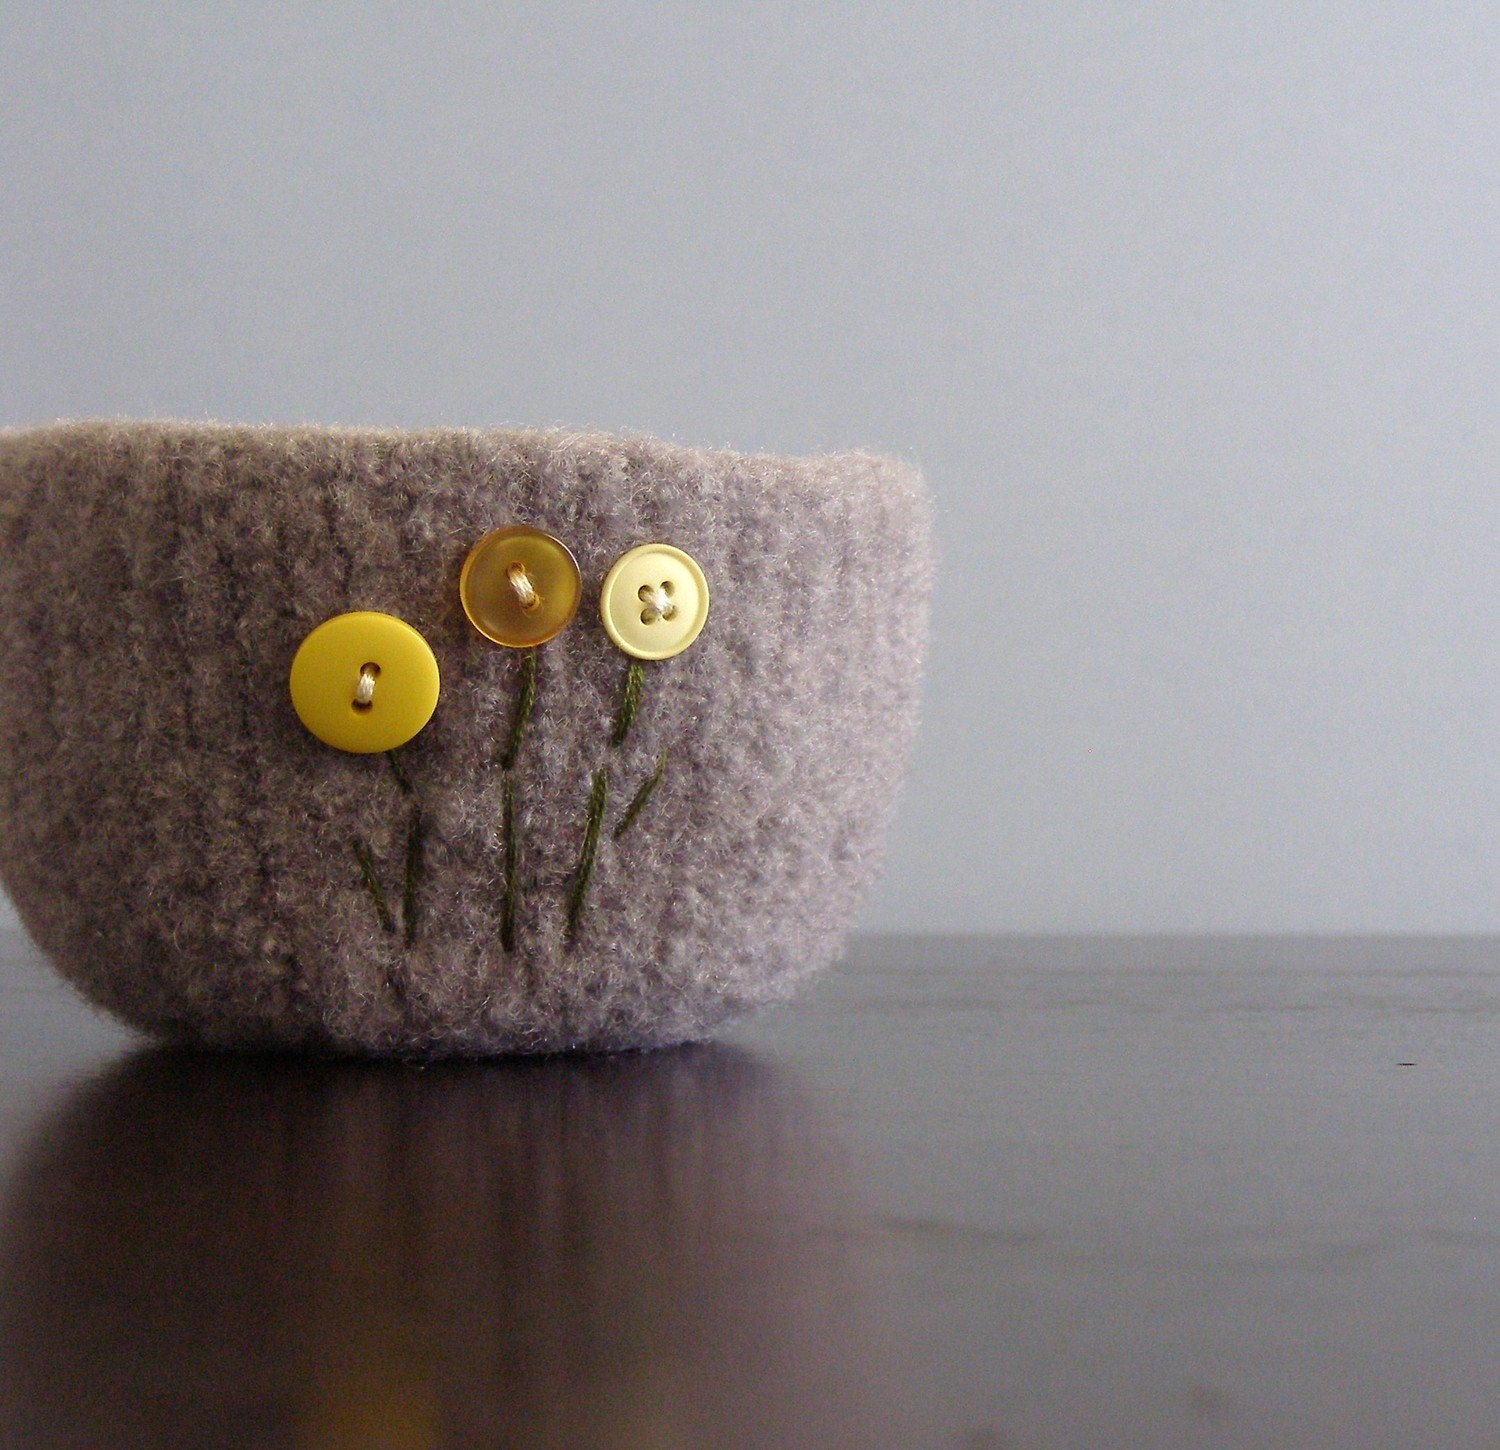
fuzzy grey felted wool bowl with yellow flowers
by the fuzzy monkey

iPad Sleeve - Wolf in Natural Grey by Boutique ID
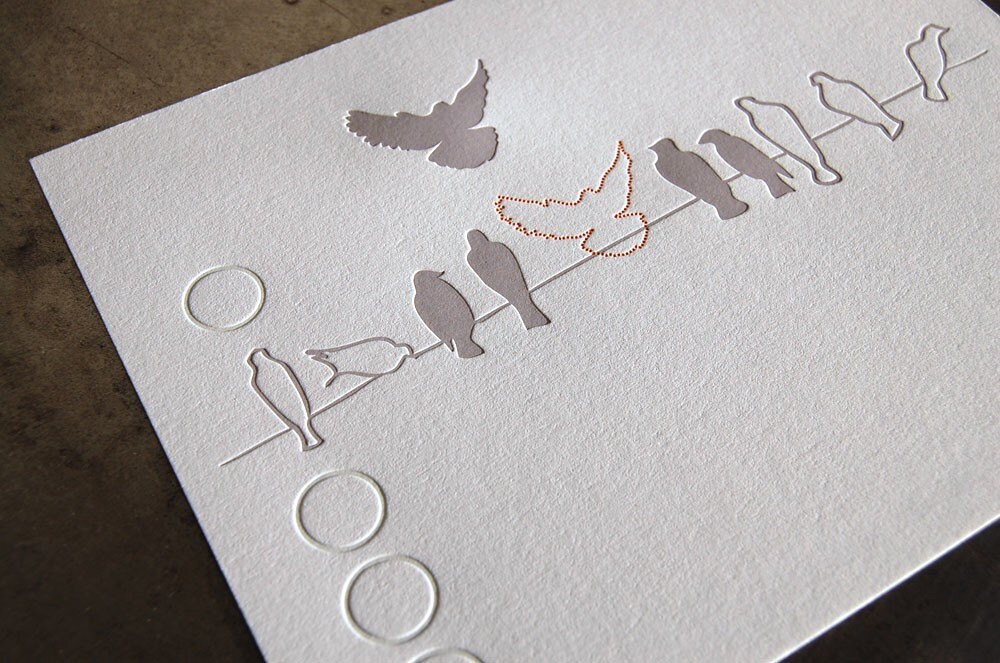
Joining, Limited Edition Bird Letterpress Print
by Pistachio Press

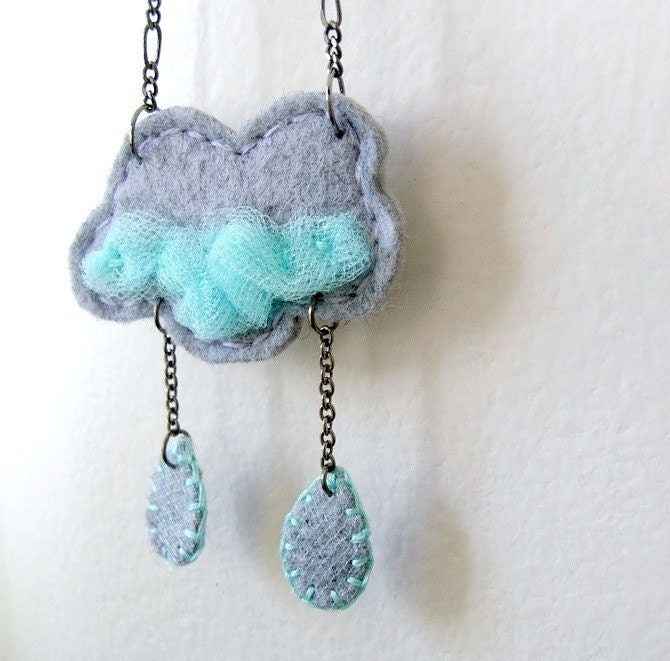
Storm Cloud Necklace by Ordinary Mommy

You Make Me Happy When Skies Are Gray Print
by ecce prints

Monday, April 4, 2011

Monday's Marvel: Upcycled Denim Bookmarks: A Tutorial

Boy, did I have fun making these this weekend! These earth-friendly marvels are for MayDay swag bags - the first fifty attendees at MayDay get a free bag of goodies! They are SO easy to make. If you 1. can't make it to MayDay, 2. don't make it to MayDay soon enough to get a swag bag, or 3. want bunches more for your loved ones, here's how to make your own:

1. Get some used, but clean, denim. Use old jeans, pre-spandex if you can find them so the fabric doesn't stretch a lot. Utility fabric or home decor fabric would work just as well. Your piece of denim should be between 6 and 8 inches in height and 2" by however many bookmarks you want. In other words, if you want five 6" high bookmarks, you need a piece of denim 6" by 10" (2" x 5 bookmarks = 10").
Step 1: Old jeans
2. Cut a piece of cotton fabric and a piece of batting the same size as the denim.
Steps 1 and 2: Denim, cotton, and batting cut to size
3. Adhere fusible webbing to the wrong side of both the cotton fabric and the denim.
Step 3: I like to use Heat n Bond fusible webbing, but any kind will work.

Step 3: Follow the webbing manufacturer's directions
to fuse webbing to fabric.
4. Make a quilt sandwich: cotton backing fabric (with fusible side up) + batting + denim (with fusible side down.
Step 4: Quilt sandwich
5. Using an iron, fuse all three together - you will probably have to iron on both sides of the sandwich the be sure that both the cotton fabric and the denim are fused to the batting.

6. Quilt away! You could skip this step if you wanted to. It doesn't alter the function, it just add beauty.
Step 6: Random all-over quilting stitches
Step 6: Completed quilting
7. Measure and cut at every 2 inches to make your individual bookmarks.
Step 7: Cutting individual bookmarks
8. Finish the edges with a zig zag or other decorative stitch.
Step 8: Zigzagged edges on finished bookmarks
To make a no-sew version, make sure to use ultrahold fusible webbing in step 3 and skip steps 6 and 8. Have fun!